How to change the number of email accounts in Professional and Pro Plus Email Hosting
This article describes how to increase or decrease the number of active accounts in your Professional or Pro Plus Email Hosting plan.
Table of Contents
Increasing the number of accounts
To increase the number of active email accounts, follow these steps:
- Log in to the Customer Portal.If you do not know how to log in to the Customer Portal, please see this article.
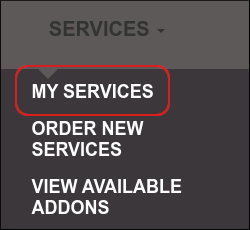
- On the top menu bar, click SERVICES, and then click MY SERVICES:
Locate the Professional Email or Pro Plus Email service, and then click Manage:

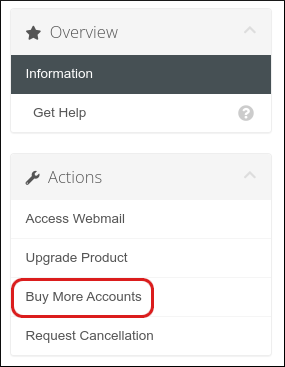
In the left sidebar, click Buy More Accounts:
- Under New Configuration, type the total number of email accounts you want after the increase.
- Click Click to Continue. The order summary appears.
- Select a payment method, and then click Click to Continue.
Decreasing the number of accounts
To decrease the number of active email accounts, follow these steps:
- Log in to the Customer Portal.If you do not know how to log in to the Customer Portal, please see this article.
- On the top menu bar, click SERVICES, and then click MY SERVICES:
Locate the Professional Email or Pro Plus Email service, and then click Manage:
In the left sidebar, click Buy More Accounts:
Under New Configuration, type the total number of email accounts you want after the reduction.
If the number of accounts you want is less than the number of email addresses you have created, you must first delete the extra email address (or addresses). Make sure the total number of email addresses is equal to or less than the number of email accounts you want to pay for. For information about how to delete email addresses, please see this article.- Click Click to Continue. The order summary appears.
- Select a payment method, and then click Click to Continue.
- Open a Billing ticket and request a refund. Billing will process the refund and issue the amount you are owed.
Article Details
- Product: Email Hosting
Related Articles
- Managing Professional and Pro Plus Email Hosting accounts
- Managing your email in Professional and Pro Plus Email Hosting webmail
- Setting up DNS records for Professional and Pro Plus Email Hosting
- Setting up Professional and Pro Plus Email Hosting on Android devices
- Setting up Professional and Pro Plus Email Hosting on Apple iOS devices
Grow Your Web Business
Subscribe to receive weekly cutting edge tips, strategies, and news you need to grow your web business.
No charge. Unsubscribe anytime.
Did you find this article helpful? Then you'll love our support. Experience the A2 Hosting difference today and get a pre-secured, pre-optimized website. Check out our web hosting plans today.